PL The Perfect Listing Checklist Interactive checklist • Save progress locally • Tap tiles to expand tips...
Blog

Author – Joe Stephenson, REALTOR® Download Your Free Real Estate Lead CRM Get organized and take control...

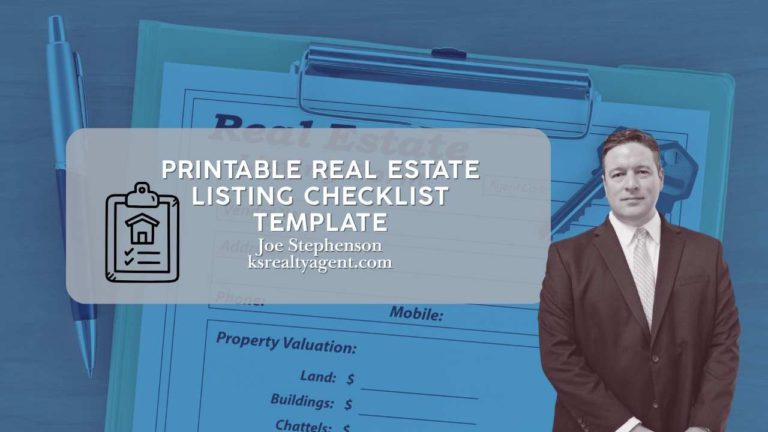
Author – Joe Stephenson, REALTOR® This checklist includes key phases and deliverables to manage various types of...

Free Customizable Seller Questionnaire Template Download PDF | Excel | Google Sheets I’ve found that when I’m...

If you’re acquiring commercial real estate property, start with a clear due diligence process that covers physical...

Download Your Free House Flipping Spreadsheets Choose the spreadsheet that fits your needs. Both options are designed...
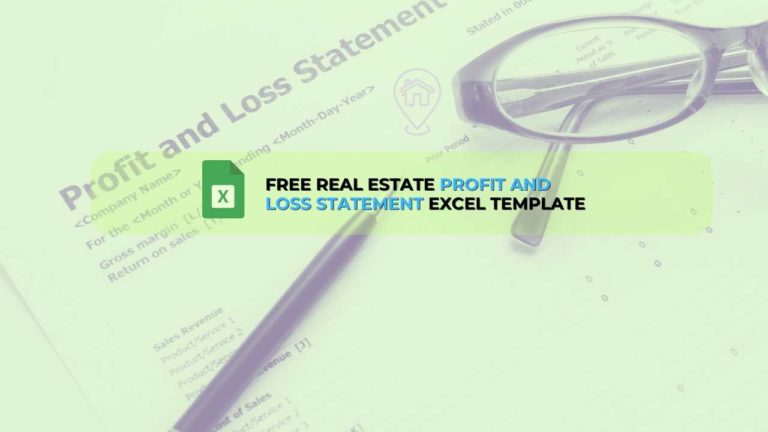
Download the Real Estate Agent Profit and Loss Statement Template Excel | Google Sheets | PDF Disclaimer:...

The right pitch deck is the most underrated tool in real estate investment. After years in the...

Comparing The Two If you’re in real estate and work with new construction, this guide isn’t just...

In Kansas real estate, clarity around brokerage relationships is key to making sure you are both in...